
About Email
You can get in touch with your members, event attendees, or merchandise purchasers by email. We make it easy for you to do this with our email builder.
How to set up an email campaign
To set up a campaign, first, navigate to the SMS/Email tab in the top navigation menu. Then, click on Create New Campaign button → Send Free Email
From there you can choose a template from the Prebuilt templates or your Custom templates to begin create email.
Create email from a prebuilt template
Pick a template and click Choose template in order to start creating an email
Select recipients: You can select one or more recipients from the list. This includes:
Your members, by membership type
Your event attendees, by event
Attendees who you refunded
Attendees on an event waitlist
Merchandise buyers
The number of people that you can reach is written in brackets. This number might be different from the actual recipient/group number. This can be explained because:
Some attendees might not have added an email address (as we only require the person who pays to add an email address)
Some of your attendees' email addresses are duplicates (same email address for different tickets)
Some members/attendees might have unsubscribed from your mailing list
Start sending emails on: Select the date and time when you want to send this email
Stop sending emails on: Select the date and time to stop sending the emails to recipients
You can automate emails by choosing an end date in the future. Your email will send out to your recipient as soon as it reaches the start date and it will continue sending to your selected group recipients until the end date of your campaign.
As an example, if you’re sending an email to your members and set the start date as today and the end date as the end of the year, all your members will receive your email today and new members who join your club later this year will also receive your email as soon as they join.Email subject: Enter a subject for your email
Design email: start filling in the template with your own content or design. Check the How to use the Email Builder to learn how to edit an email template
Send test email: This is optional. If you want to see what your email looks like, add your email address next to the Send Test button. You should receive your email in a matter of minutes!
Submit: click to submit the email campaign and emails will be sent to selected recipients on the date and time that you set up.
Alternatively, if you are not ready to submit and send the emails, you can click Save Draft to save the campaign as a draft to revisit and edit the campaign later.
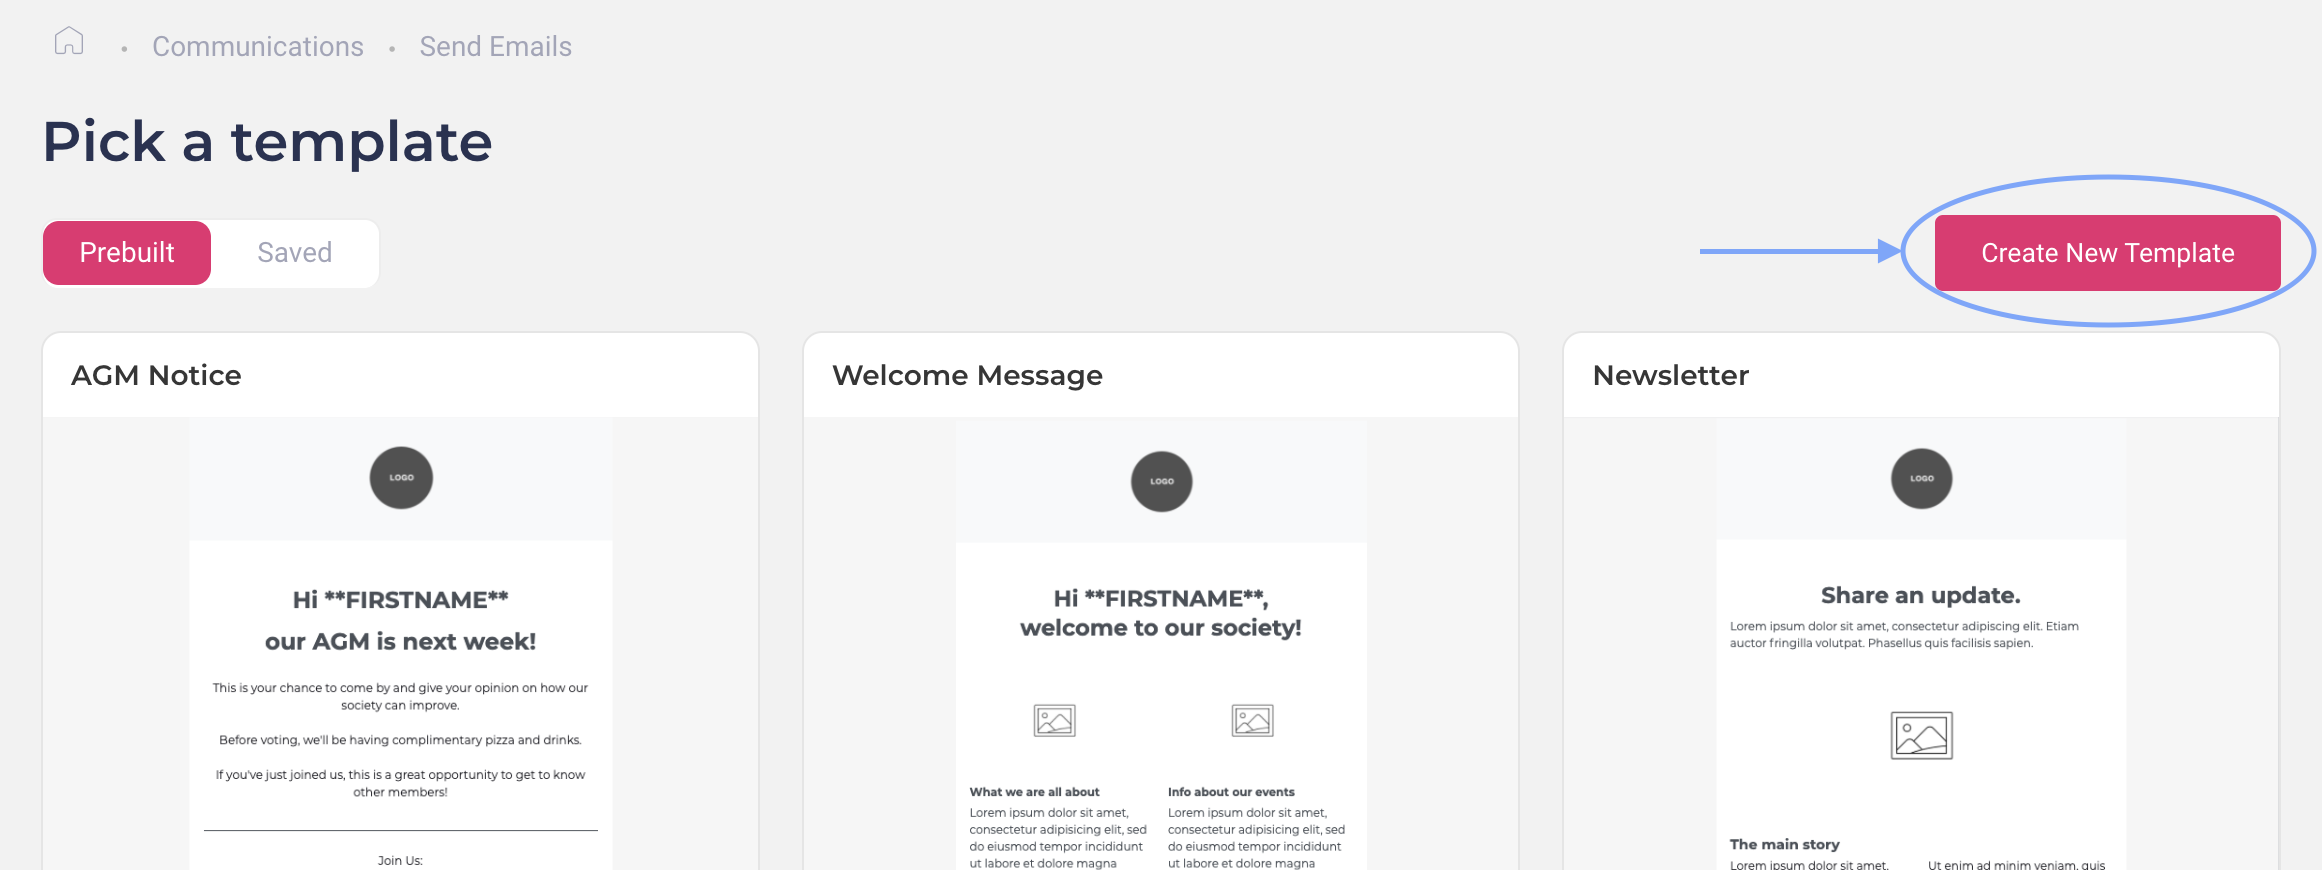
Create a custom template
To create a custom email template, in Pick email template page, click Create New Template
The easiest way to create a template is to edit the existing prebuilt template, so pick a prebuilt template as a base to start from and follow the steps:
Alternatively, you can choose Build Custom HTML Template if none of the prebuilt templates works for you.
Template name: give your template a name
Email subject: enter an email subject applied for this template
Design email: similar to create an email, you can refer to the How to use the Email Builder guide to learn how to edit an email template
Send test: to preview your template, you can send a test email to view your template on desktop or mobile. This is an optional step.
Create Template: click Create Template button when you want to save this template.
Your new template will be saved in Saved tab on Pick email template page.